- Free Shipping On Select Items
- Free Sample
- Sign Up and Save


How to Create Garden Stepping Stones with Wire Mesh

Create a unique and functional garden feature with wire-reinforced stepping stones. Adding a layer of chicken wire mesh ensures durability and a long-lasting finish.
By building your own stepping stones, you'll not only reduce the amount of dirt and mulch tracked into your home, but also add a personal touch to your outdoor oasis. Plus, the sun-warmed stones will attract butterflies, bringing beauty and life to your garden!
Create Your Own Stepping Stones with Metal Mesh: A Step-By-Step Guide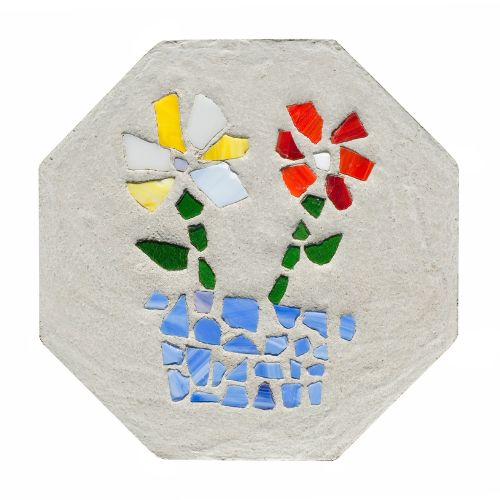
- Safety First. Wear a long-sleeved shirt and long pants. Lift heavy concrete bags with your back by bending your knees and cradling the bag against your torso while keeping your back straight and engaging your core. Wear protective eyewear, a mask, and gloves for protection.
- Prepare the Molds. Purchase garden step molds from a hardware store or improvise your own, such as cake pans. Stepping stones are typically about 2 inches thick and 16-18 inches in diameter. To prevent materials from sticking to the molds, begin by coating their interiors in petroleum jelly or cooking spray.
- Concrete Mixing. Pour concrete mix into a tub or wheelbarrow. Add a little water, then mix the concrete, folding it over on itself using a tool such as a shovel. Continue adding water and mixing until the concrete is uniform, and neither dry nor soupy.
- Layer Concrete, Metal Mesh & More Concrete. Place a small piece of chicken wire in the center of your mold mix to allow the concrete to cure around it, creating a stronger and more durable garden stepping stone. Once the concrete is poured, tamp it down to remove air bubbles and scrape off the excess concrete.
- Add Decoration. After the concrete has rested for about 45 minutes, add sea glass, mosaic tiles, and/or handprints to your stepping stone.
- Rest for Two or Three Days. Set the stones in a safe place and allow them to dry for 36-48 hours. If you move them too early, you risk cracking the concrete.
- Remove the Stones from the Molds. Turn the stones face-down and tap all over the back of the molds. Eventually the stone will drop out of the molds.
- Cure the Concrete and Place your Stones. Cure the concrete for an additional week by allowing the stones to sit in a safe place. (Don’t step on them just yet!) Last, place your stones as you’d like. We recommend digging the stones in and layering a half-inch of sand below each stone for settling and readjustment.
Quality Metal Mesh for Gardens & Landscaping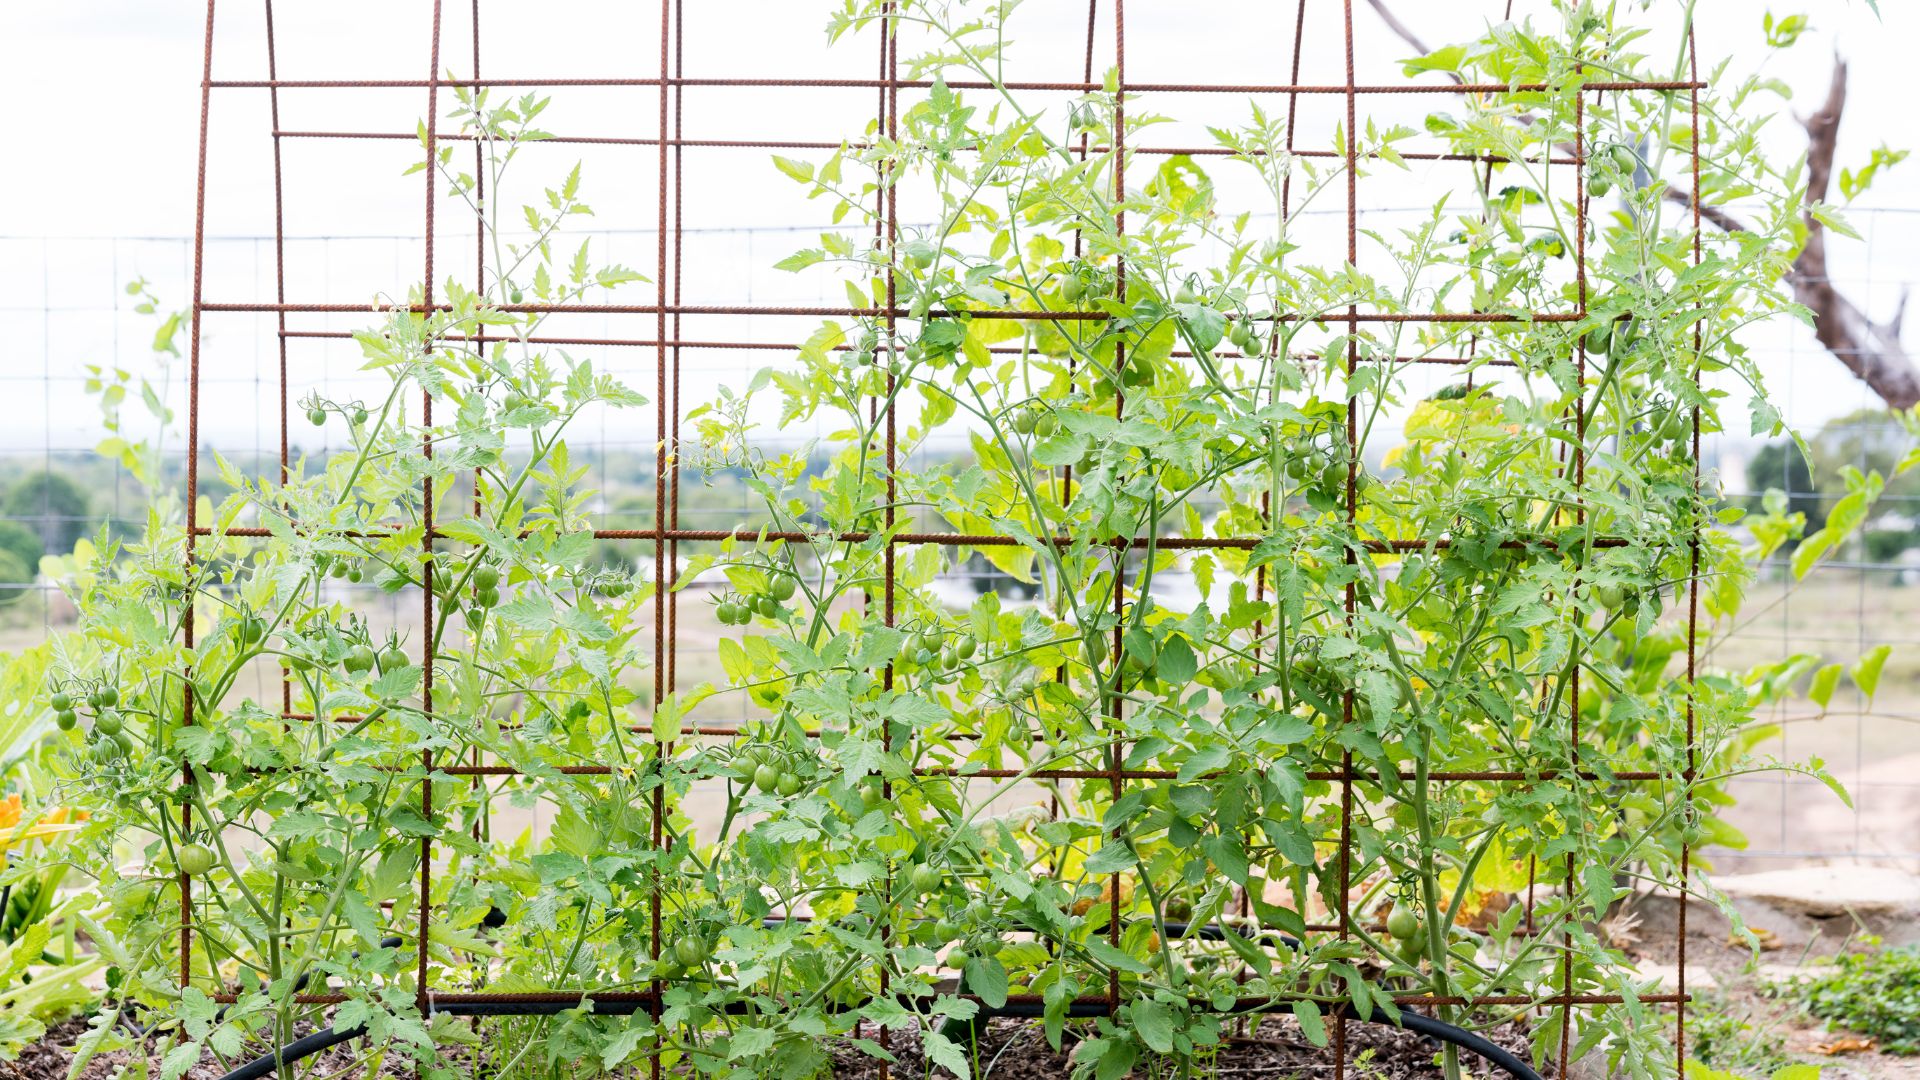
Wire mesh has endless uses in the garden! It can protect your plants, support planters and vertical gardens, and even guide root growth. Hardware cloth is a great eco-friendly option to keep rodents and pests at bay. Plus, decorative mesh can be used to create privacy screens, sculptures, or unique lighting fixtures.
Choose from materials like brass, copper, stainless steel, welded, or woven mesh – each offering unique advantages. Brass mesh is abrasion-resistant and rust-proof, perfect for outdoor lighting, water features, and sculptures. Copper is flexible and easy to solder, commonly used for trellises and pest control. Stainless steel mesh is a popular and budget-friendly choice for fencing and small greenhouses.
Where to Buy Wire Mesh For Gardens, DIY Projects & More
Interested in learning more about the versatile uses of wire mesh for gardens, yards, and landscaping? Reach out to us today! Our team is ready to help you select the perfect wire mesh for your outdoor project.
Need extra services for a custom project? We offer in-house laser cutting, cleaning, slitting, and more to meet your needs. Ready to start, but need an estimate? Request a quote! We pride ourselves on exceptional customer service, competitive pricing, accurate estimates, and fast turnaround times.
Since 1969, we've been providing top-quality decorative wire mesh materials for a variety of projects. Whether you're tackling a DIY home or garden project, we've got you covered. Looking for inspiration? We’re here to help!
We would love to feature your project in our Instagram gallery! Upload photos using the tag #TWPWireMesh.